- Milk Frother Roundup
- Winter Workouts
- LMN Holiday Gift Guide
- Biena Chickpea Recipe Roundup
- LMN Healthier Halloween Guide
- Prepped, Prepared, and Packed Lunch
- Seasonal Pumpkin Product Roundup
- 3 Habits to Pick Up This Fall
- Stock and Organize Your Fridge Like an R.D.
- Hydration Infographic
- Summer Vegetable Guide
- Super Bowl LII: A Healthy Snack & Plan Of Attack
- 5 Great Ways to Enjoy Pumpkin this Season
- Natural Products Expo Finds:
- Red White and Blue
- Product of the Month: Stainless Steel Grill Clips
- Produce Storage
- Guacamole Love
- 5 Travel Tips To Stay Healthy On The Go
- 3 New Habits to Effortlessly Pick Up This Memorial Day
- The Picker
- Product of the month: Cast Iron Pans
- The Kitchen from Oz
- Overnight Oats, LMN Style
- Black and White Eater
- A Perfect Day to Purge Your Pantry
- How to order fast food
- Grain Bowl Three Ways
- The Grazer
- Rethink Your Stance On Chocolate: The Benefits Of Cacao Flavanols
- Super Bowl LI: A Healthy Snack & Plan Of Attack
- How to Cleanse
- Replace your “Dieting Ways” with a Baseline Day
- Lara’s Amazing Holiday Feast 2016
- LMN Ho Ho Ho Holiday Gift Guide
- Poke Poke
- Favorite Thanksgiving Recipes from Lara Metz Nutrition
- Healthy Halloween Treats
- Fall Meal Planning
- Crudité: Lara Metz Nutrition Style
- Salad Done Right!
- Burger Bar
- Healthy Summer Kitchen Must Haves
- 12 Easy Tips for a Healthy BBQ
- Sweet, Sweet, Passover!!!
- Super Bowl 50: Tricks for Touchdown Eating
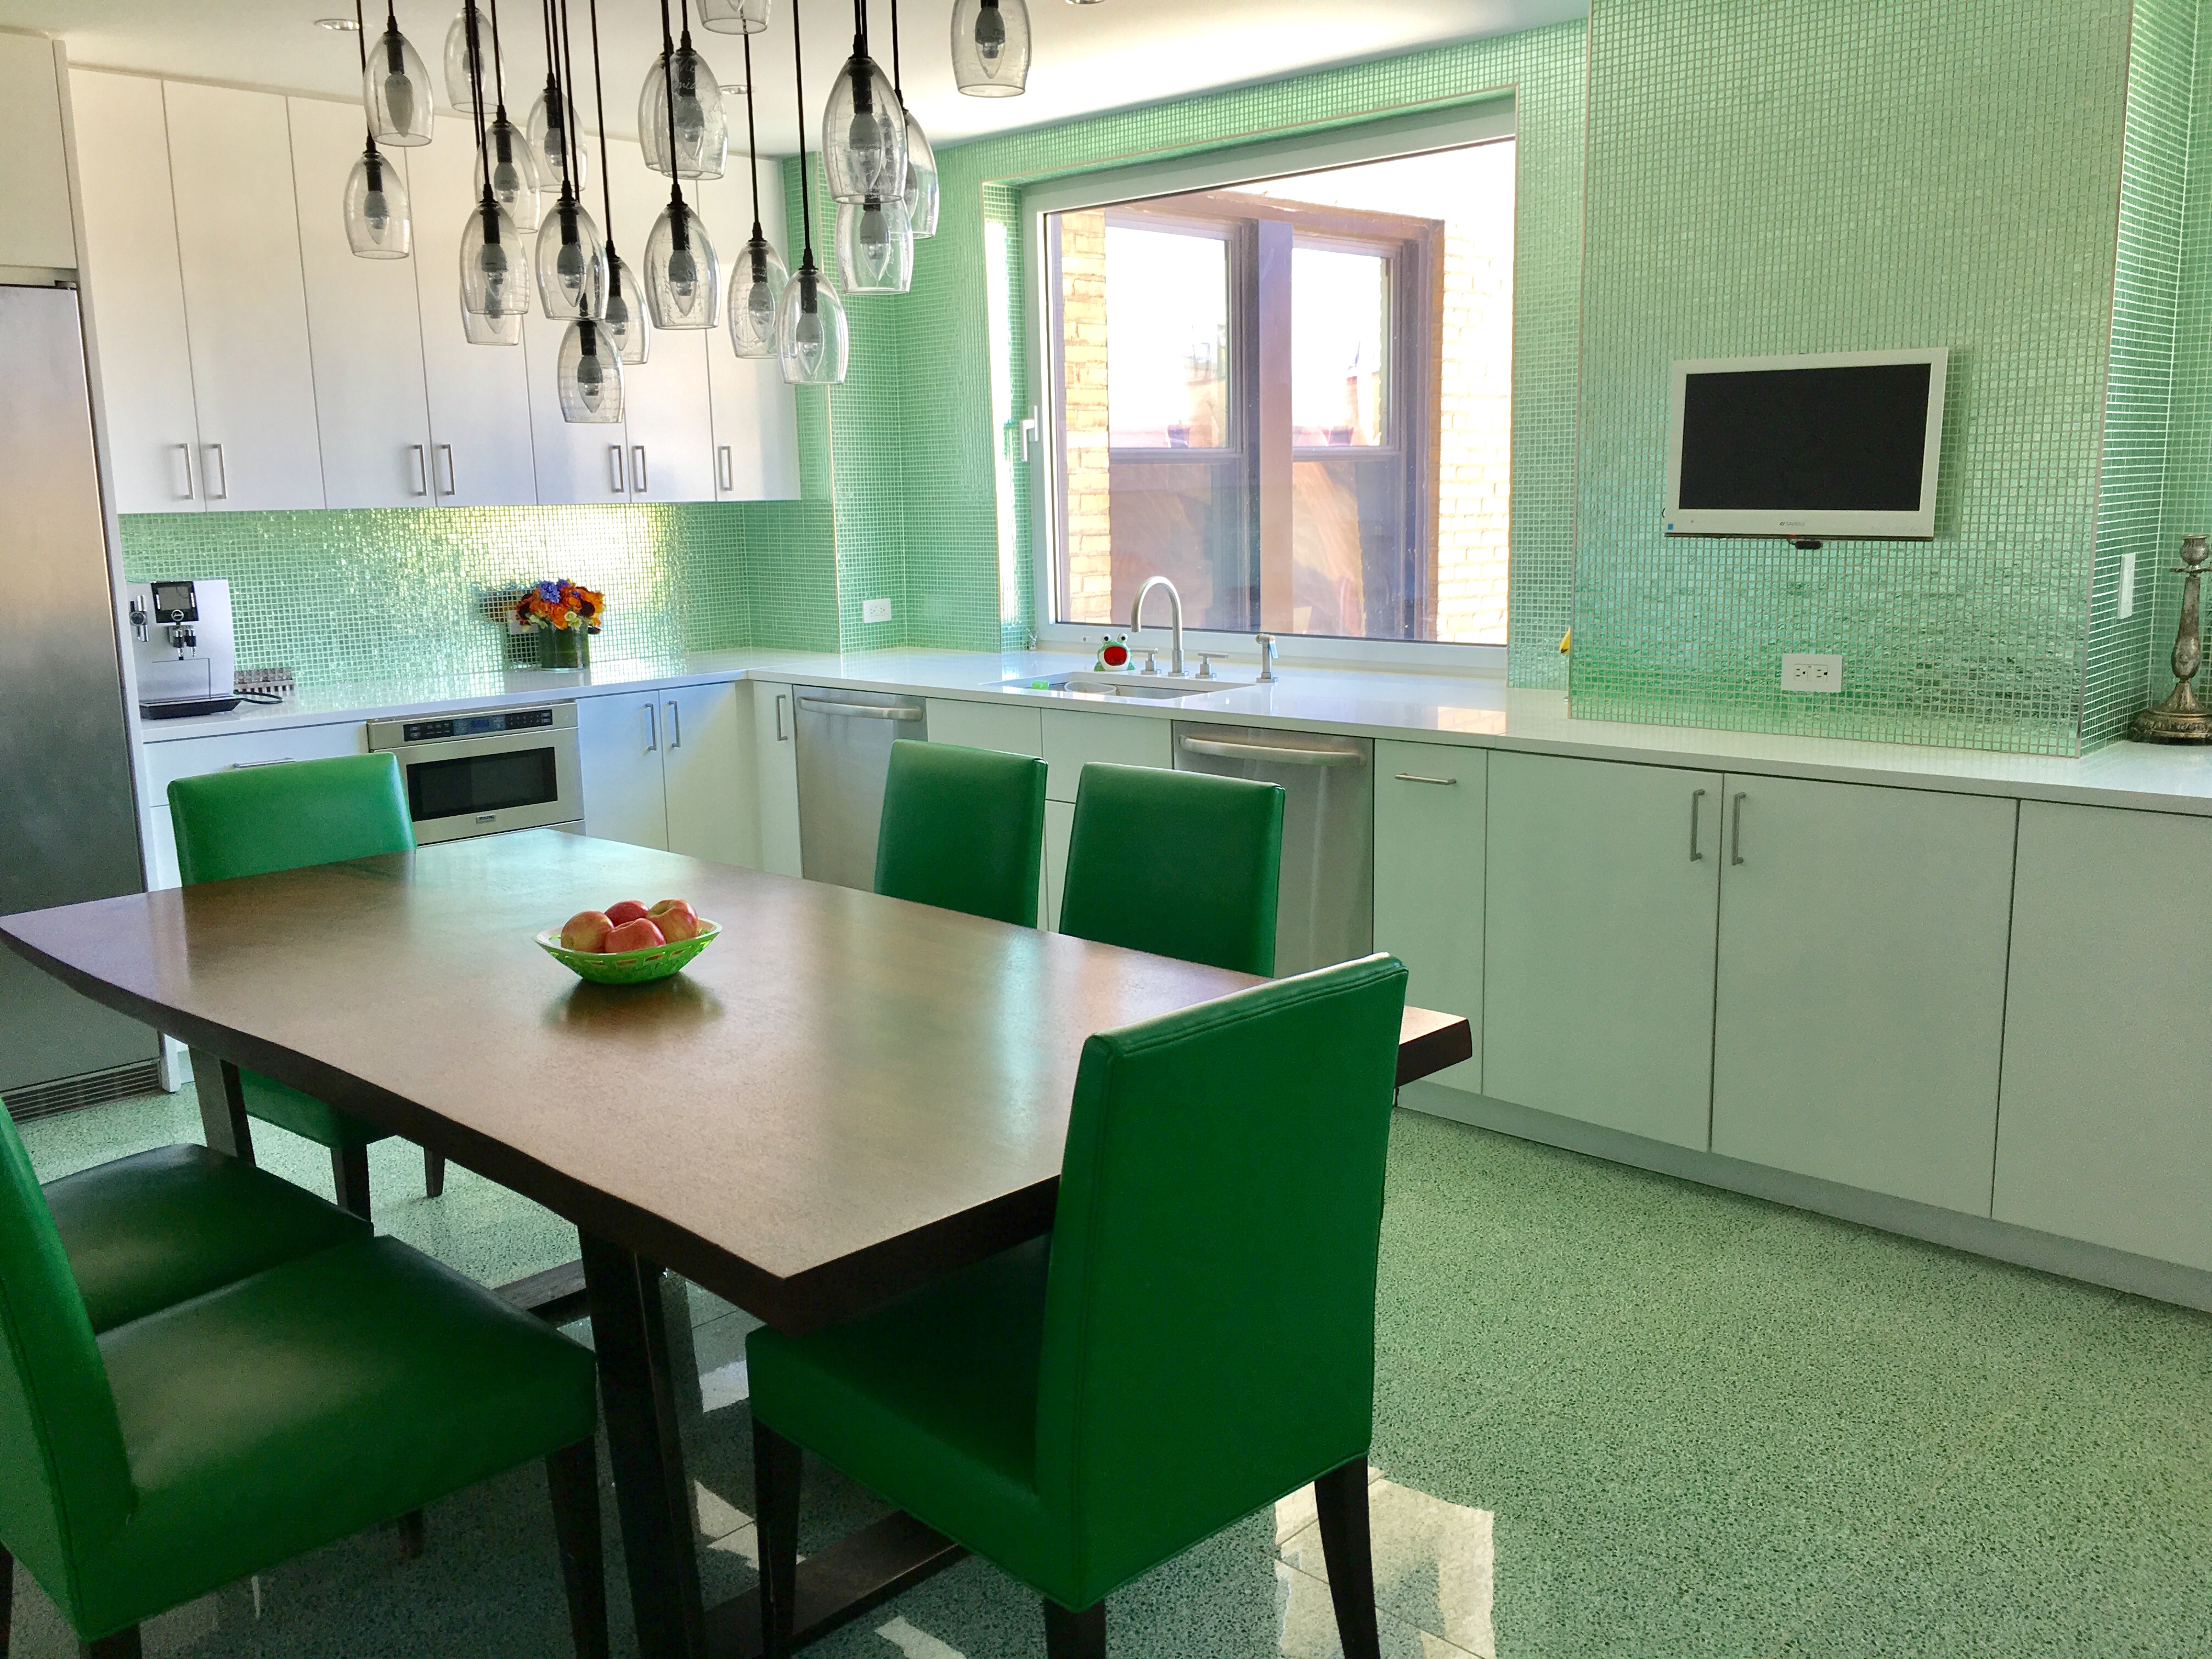
The Kitchen from Oz
Walking into Holly Merrin’s kitchen is a little like Dorothy seeing Oz for the first time. From the emerald green terrazzo floors to the bold green leather chairs and fabulous views of the Hudson River, this kitchen is long on the wow factor.
The mom of the moment is long on the wow factor too. Petite and pretty, Holly enjoys preparing meals and snacks for her family. A 2015 graduate of
The Natural Gourmet Institute, it’s more than a hobby, but not yet a career. Holly contacted Curated Kitchen to tackle both the physical organization of the kitchen and her need to address a wide range of food preferences in the most nutritious manner.
Stage One: Family Food Questionnaire and Organizational Assessment
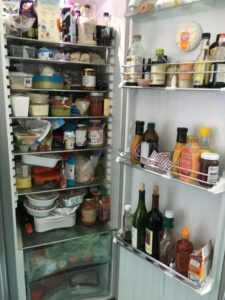
We arrived at Holly’s apartment on a sunny, unseasonably warm winter day. During this first meeting, we interviewed Holly using our Family Food Questionnaire, a tool that enables us to fully understand a family’s attitudes and aspirations around meals and nutrition. We learned that Holly cooks almost every night, that she buys mostly organic and healthy foods, and that the family spends a lot of time in the kitchen. We did a complete inventory of foods she had in her pantry and refrigerator, and took measurements of all storage areas in the kitchen.
In examining the placement of food items and food storage items, we noted that the pantry was overstuffed, that food wasn’t organized by category, and that cooking tools and supplies weren’t stored where they were used. We noted that much of the food inventory was organic and balanced with a reasonable amount of “treats”.
The first suggestion we made was to relocate a stacked washing machine and dryer in a kitchen closet to an existing laundry room in the back of the apartment. This move would enable us to remake the kitchen closet into a pantry, thus multiplying the available storage space. While not all clients can make large structural changes like this, Holly loved the idea and was able to implement it within a few weeks.
Stage Two: Nutrition and Organizational Kitchen Makeover
On our second visit to Holly’s kitchen, we literally took everything out of the refrigerator, freezer, and pantry and audited every dish, pot, pan, serving piece, Tupperware container, and kitchen tool. We determined what was needed and where each item would be stored. We thought about the functionality of the kitchen but also weighed the aesthetics. Here are the highlights of the process:
- Purge. We eliminated many multiples including a 3-year supply of tissue boxes and dog food and duplicates of kitchen tools, utensils and condiments. More importantly, we purged all food that was passed its expiration date.
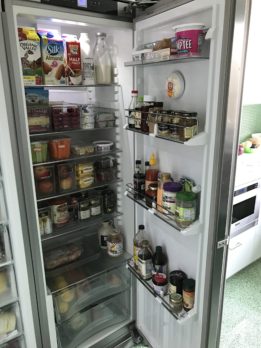
- Group like items together and use bins, canisters, and dividers. We consolidated snacks, baking goods, and frozen foods. Within the snack drawer, we separated nuts, dried fruits, snack bars, and chocolate. We were able to contain items and make everything easier to find. Dry goods like flour were put into OXO canisters and labeled instead of having multiple leaking bags.
- Placement is key. We stored milk products on a shelf at the top, the coldest spot in the refrigerator. Condiments were placed on the refrigerator door. Equally important was placing healthy items at eye level and prepping vegetables and produce. For example, carrots and peppers were sliced and put front and center in the refrigerator.
- Allocate specific areas to frequently accessed items. We created a freezer drawer specifically for smoothie ingredients and another one for granola ingredients since these were two items prepared frequently. We also created a pet food section for the family’s three dogs and two birds, and two snack drawers for the children.
- Add/remove shelves as needed. We added shelves in the pantry, but removed a shelf from the refrigerator. Both of these tweaks added more space and made the areas more visually appealing.
- Place items where they are used. Spices and cooking oils were relocated to a narrow area next to the oven/stove. Coffee, mugs, and sweeteners were placed in a cabinet above the coffee maker.
- Label. We labeled every shelf, container, and drawer. We wanted everyone in the family to know where each type of food belonged.
- Plan meals in advance. We suggested that meals be planned in advance using a meal planner or dinner planner. We stressed the need to take a food inventory before shopping to avoid buying duplicates and then to create a grocery list using paper and pen, iphone notes or an app such as Out of Milk. Lara provided multiple ideas for new snack foods such as the Elemental Superfood Seedbar and new recipes such as Lara’s Gluten-Free Almond Meal Pancakes and Quinoa Bites.
When we left at the end of the day, Holly was making kale chips to be dipped in hummus for an after school snack. While her 10 year old son Nathan waited, he ate an apple. In Nathan’s words, “The food in the refrigerator even looks tastier now.”

6104D1AA-5D4A-48AC-99B1-565BECA081A8

FullSizeRender-1